Building a Travel Agent with ChatGPT AgentKit: A Complete Guide
Updated on October 7, 2025
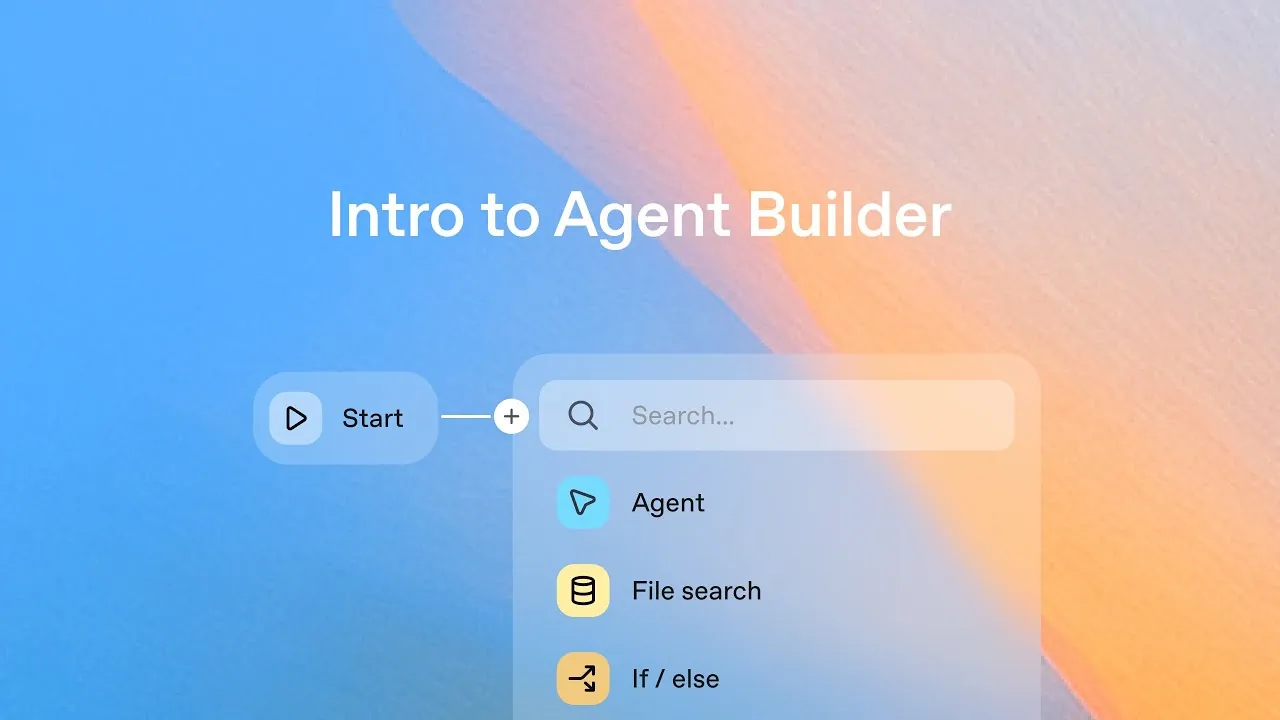
ChatGPT Agent Builder visual workflow interface
A lot of agent work is wiring: prompts, routing, tool calls, and tests. If you want to prototype quickly, a visual builder can help. Agent Builder is OpenAI’s drag-and-drop workflow editor for agents.
This guide covers the main pieces of Agent Builder and walks through a simple travel assistant based on OpenAI’s example. You will connect nodes, test the flow, and get it ready to publish.
What is Agent Builder?
Agent Builder is part of AgentKit, OpenAI’s suite of tools for building and deploying AI agents. Agent Builder gives you a visual editor for multi-agent workflows. You can build without writing code. You connect blocks (nodes) to form a complete flow, starting from templates or from scratch.
A nice part is the built-in evaluation tools, which help you test how the agent behaves and iterate quickly. When you are ready, you can export the workflow as code or integrate it using the workflow ID.
Building a Travel Agent: A Step-by-Step Example
To see Agent Builder in action, let’s build a simple travel agent. This agent will handle two kinds of requests: building an itinerary and looking up flight information.
1. Setting Up the Workflow
Every workflow begins with a Start Node. This node is where you can define input variables that your agent will use. For our travel agent, the default settings are sufficient to get started. The user’s request will be passed through this node to the rest of the workflow.
2. Classifying User Intent
Since our agent needs to handle two different tasks, we need a way to determine what the user wants. This is where a Classifier Agent comes in. A classifier is a specialized agent that categorizes the user’s input.
We can configure this node with a prompt that instructs it to act as a travel assistant and classify the user’s message as either “itinerary” or “flight info.” To ensure the output is structured and predictable, we can specify the output format as JSON.
Here’s an example of the JSON output structure:
{
  "classification": "itinerary"
}
3. Branching the Logic with an If/Else Node
Once the user’s intent is classified, we need to direct the request to the correct specialized agent. An If/Else Node allows us to create conditional branches in our workflow.
We can set up the condition to check the output from our classifier.
- If
classificationis “flight info,” the workflow proceeds to the flight agent. - Otherwise, the workflow proceeds to the itinerary agent.
This simple branching logic ensures that each request is handled by the agent best equipped for the task.
4. Creating Specialized Agents
Now, we create the two specialized agents that will perform the core tasks.
The Itinerary Agent
For users asking for travel suggestions, we’ll create an Itinerary Agent. This is another agent node configured with a specific prompt, such as: “You are a travel assistant. Build a concise itinerary.” This agent will take the user’s request (e.g., “What should I do in a day in Tokyo?”) and generate a detailed plan.
The Flight Agent
For users looking for flight details, we’ll configure a Flight Agent. Its prompt can be something like: “You are a travel assistant. Always recommend a specific flight. Use airport codes.”
To provide the most accurate and current information, we can give this agent access to tools like Web Search. This allows the agent to look up real-time flight data based on the user’s query (e.g., “SFO to Tokyo on October 7th”).
5. Testing Your Workflow
With the basic structure in place, you can use the Run Preview panel to test your agent. When you enter a prompt like “What should I do in a day in Tokyo?”, you can watch as the workflow visualizer shows the request moving from the classifier to the if/else branch and finally to the itinerary agent, which generates the output.
This immediate feedback loop is great for debugging and understanding how your agent processes information.
Using Widgets for a Better UI
A plain text response for flight information is functional, but we can do better. Agent Builder allows you to create richer, more interactive user experiences using Widgets.
You can design custom UI components in the Widget Studio. For our flight agent, we can create a widget that displays flight details like departure and arrival locations, times, and other relevant information in a visually appealing card format.
After designing the widget, you can download its template and upload it directly to the flight agent node. You can even add more creative instructions to the agent’s prompt, such as “Choose a background color creatively based on the destination.” When tested, the agent might search the web, find a flight, and then display it using the custom widget with a background color it associates with the destination city.
Publishing Your Agent
Once you are satisfied with your agent’s performance, publishing it is straightforward. You can give your workflow a name, like “Travel Agent,” and publish it.
After publishing, you have two primary options for integration:
- Agents SDK: You can use the Software Development Kit to integrate the agent into your application. This gives you more control but also requires managing more code.
- Workflow ID with ChatKit: For a much simpler, no-code integration, you can take the generated workflow ID and drop it directly into your product using ChatKit.
Get Started with Agent Builder
Agent Builder is part of AgentKit and works with related tools like ChatKit and Connector Registry. The main benefit is a visual canvas with built-in testing and simple deployment options, so you can focus on the product experience.
If you have a project that needs an agent workflow, try building a small one first. You will learn quickly whether the visual approach fits how you like to work.
Launching an AI tool? Here is a list of AI directories you can submit to, plus a quick basic SEO guide for getting the post-launch stuff right.